Adding a user
Adding team members to your account is simple.
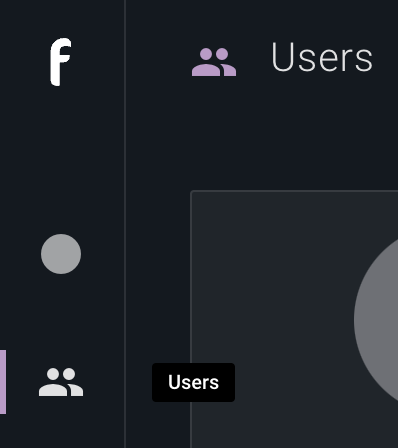
To do that, navigate to the 'Users' tab on the left-hand menu on your ftrack Review interface.
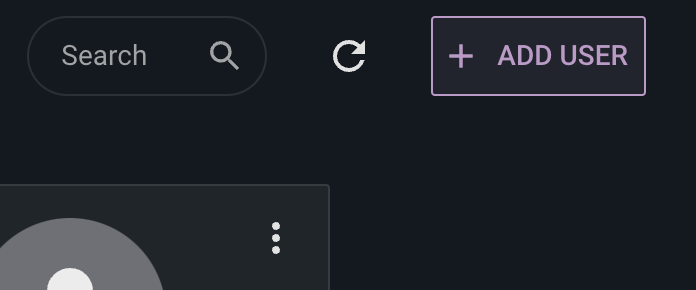
Once on the 'Users' page, click ‘+ Add User’.
This will bring up the following dialog:
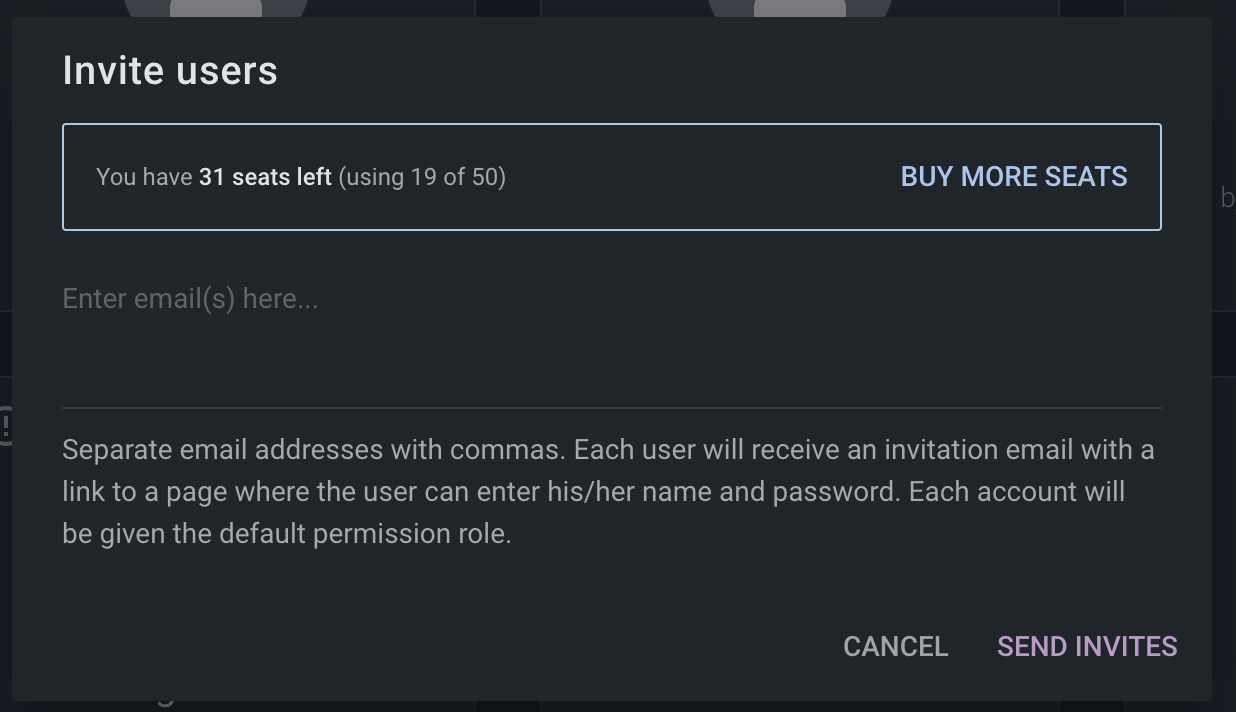
|
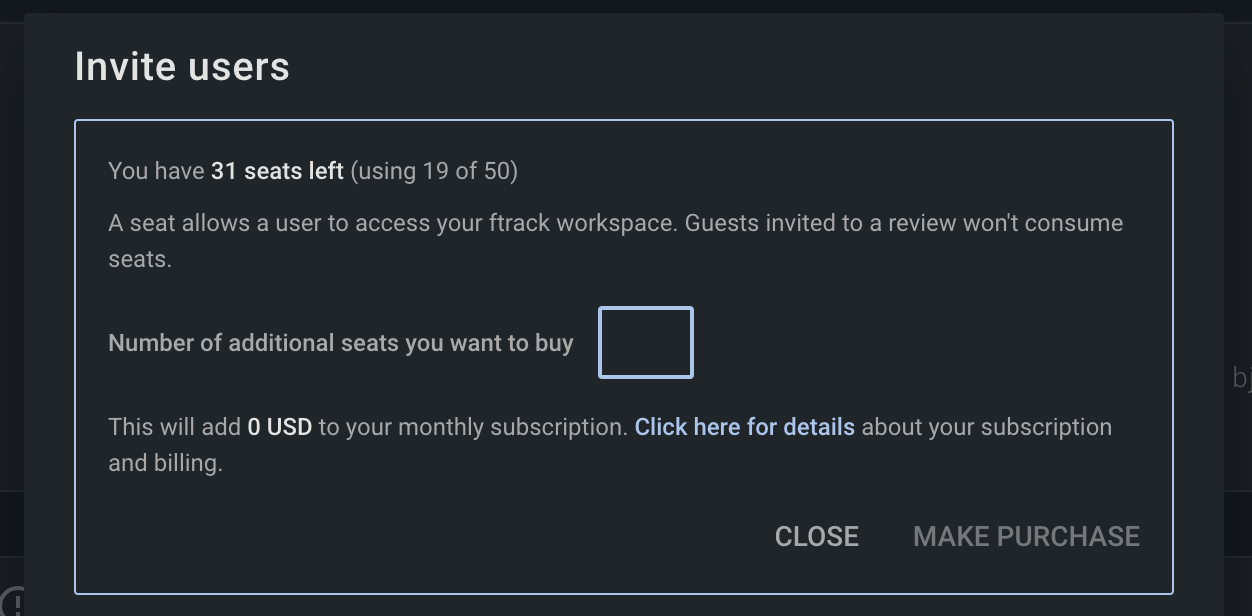
Tip: 'Add user' dialog will also show how many seats you have left, providing more transparency and enabling you to buy additional seats.
|
To add a user, enter an email address (or multiple email addresses separated by commas) to send an invitation email.
Each invitation email contains a link to a secure page where the user can enter their name and password.
Disabling a user
Members of your organization may come and go over time. If this happens, you can disable a user account, which means that the user will no longer be able to sign in.
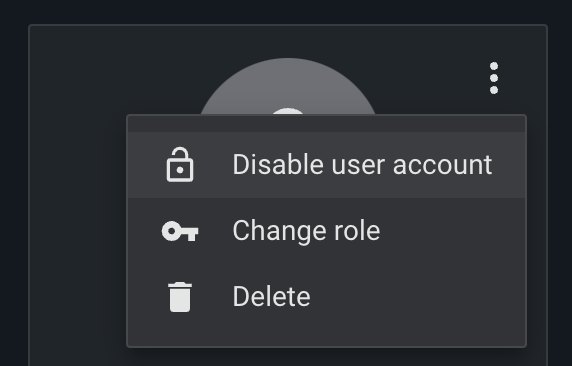
To disable a user, open the ‘3dots’ menu to the top-right of a user profile and choose the 'Disable user account' option.
Workspace administrators can manage the role of other members of their team from the same User options menu.
Currently, there are two levels of roles:
-
Administrator: Can change the security settings, invite new users and change user roles (ie make other Team members Administrators)
-
Team member: More permission limitations compared with the Administrators. They are not able to change security settings or manage other users.
Deleting a user
A user can also be deleted from the ftrack Review account from the user options menu.
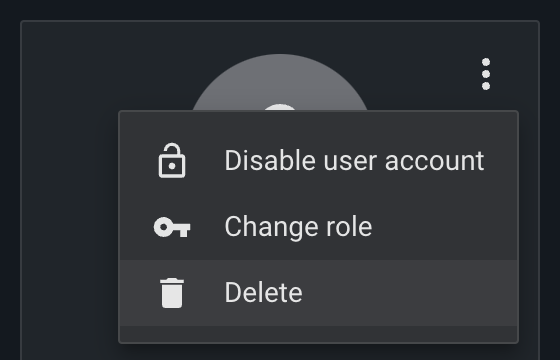
To delete a user, open the ‘3dots’ menu to the top-right of a user profile and choose the 'Delete' option.
|
Please note: In this instance, the user will be permanently deleted. Comments and activities will remain, but will be attributed to an ‘Unknown user’. |